A frequently asked question on the various #ubuntu-* channels I lurk around on FreeNode is that of getting Ubuntu Focal (20.04) booting from USB on a Pi. The major issue here is that Focal still uses U-Boot and that doesn’t work with USB boot on the Pi (our U-Boot build does now support both the USB2 and USB3 ports on the Pi 4, but the MSD support doesn’t work for some reason).
However, U-Boot isn’t critical to booting Ubuntu. In fact, on the armhf images it’s basically redundant. On the arm64 images though it does have one very important job: decompressing the gzip’d kernel.
How come the kernel doesn’t decompress itself? Because arm64 kernels can’t. For whatever reason, the Linux kernel includes self-extraction code for x86 and armhf … but not arm64 where “that’s the bootloader’s job”. Around the time of Focal’s release, the Pi’s native bootloader didn’t support any kind of extraction, so we shipped a U-Boot script to handle decompressing the gzip’d kernel.
Later on in 2020, the Pi’s bootloader got an upgrade to support decompressing gzip’d kernels but Focal’s boot sequence still uses U-Boot because forcing a boot sequence change on existing installations is not something I’m keen to do unless absolutely necessary (that said, it’s something that’ll need tackling for the upgrade to the next LTS).
On a Fresh Install
First let’s tackle installing a completely new Focal image on a USB SSD and adapting it so it’ll boot from USB. Bear in mind your Pi 4 will already need to be configured to boot from USB so do that first if you haven’t already (this is one-time setup though so if you can already boot your Pi 4 from USB, you’re all set).
Flash the Focal arm64 image (which must be point release 2 or later) straight to your SSD drive. The easiest way to do this is with the Raspberry Pi imaging utility:
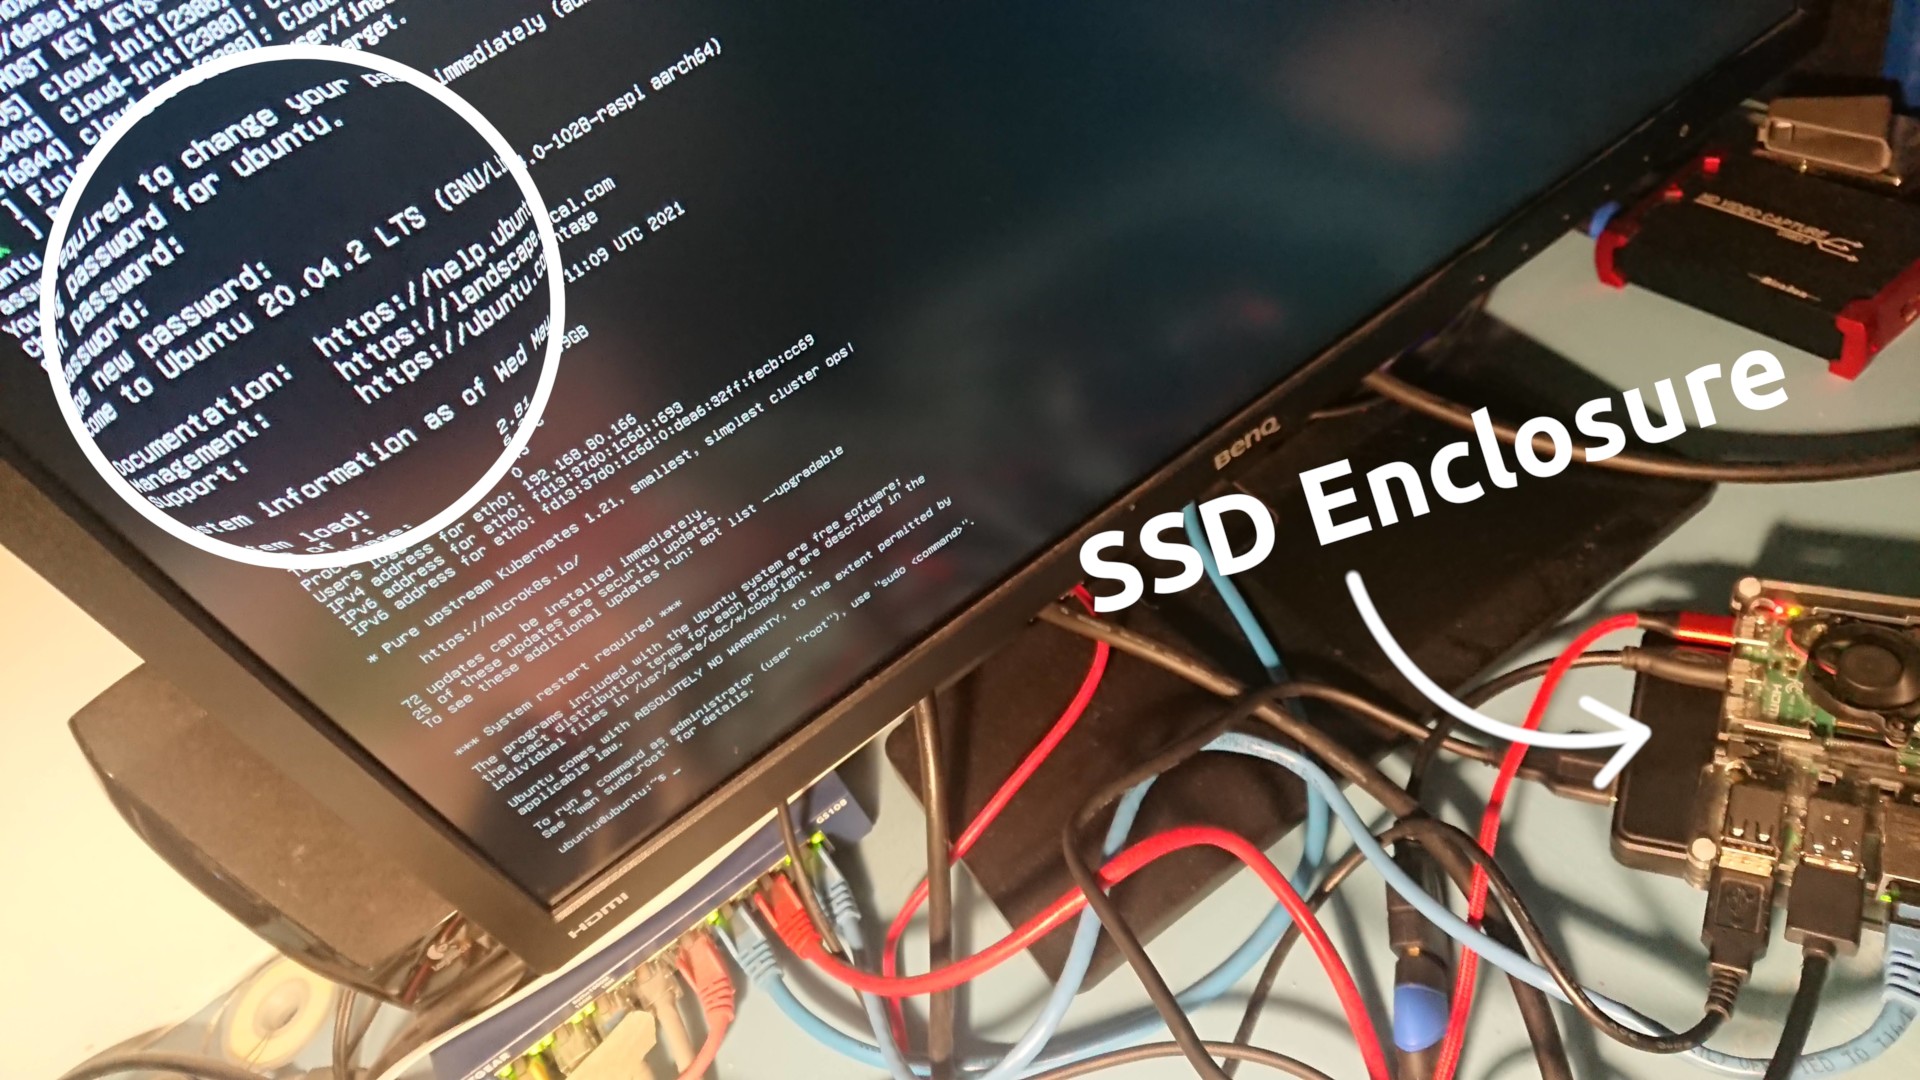
- Slot your SSD drive into a USB3 enclosure of some sort (personally I find the Inateck FE2004 works nicely) and plug that into your PC
- Start up the imaging utility
- Select “CHOOSE OS”, “Other general purpose OS”, “Ubuntu”, “Ubuntu Server 20.04.2 LTS (RPi3/4/400)” (if you’re reading this from the future, any later point release like .3 will be fine too)
- Select “CHOOSE STORAGE” and pick your SSD drive (if you’ve no other removable storage attached it’ll probably be the only thing listed)
- Select “WRITE” and twiddle thumbs / make coffee while everything finishes
Now, jump to the “Boot Surgery” section below!
From an Existing Install
Converting an existing SD card installation is a very similar procedure. First we’ll deal with transferring the content of the SD card to the SSD. I’m assuming here that your SSD is at least as large as your SD card. If that isn’t the case you’ll need to go and read about shrinking partitions and such-like but it sounds rather unlikely so I’m going to skip all that here.
The first step is simply to make sure that your installation is up to date. You must have an updated bootloader for this to work, so boot your SD card and run a typical sudo apt update, sudo apt upgrade cycle. Then shut the Pi down, and get a machine running Linux other than your Pi with an SD card reader and a USB port.
Note
It is possible to do this on a Pi, especially one that’s already USB booted where you can use the internal SD reader as a source, and a spare USB port as a target, but that’s rather circular so for the purposes of this article let’s assume you’ve got an Ubuntu PC lying around!
On your PC, insert your SD card and your SSD in some appropriate USB enclosure.
I’m going to assume your SD card appears as /dev/mmcblk0 and your USB
enclosed SSD as /dev/sdf below. If you want to be certain, before
inserting the devices run sudo dmesg -w and watch the output as you insert
them. The device names should be apparent from the output.
- First, ensure nothing on the SD card or SSD is mounted:
sudo umount /dev/mmcblk0p1,sudo umount /dev/mmblk0p2, …,sudo umount /dev/sdf1,sudo umount /dev/sdf2. Check the output ofmountto make sure no partitions from these devices are still mounted. - Next transfer everything from the source to the target with good ol’
disk-destroyer:
sudo dd if=/dev/mmcblk0 of=/dev/sdf bs=16M
status=progress
; be damned sure you get the of= device name correct here! - Be warned this transfer will take much longer than just writing a normal image as it’ll include all the blank unused blocks on the SD card too, so prepare for much thumb twiddling / coffee drinking!
- Run
sudo sync(probably unnecessary but no harm in a little paranoia)
Now continue with …
Boot Surgery
Now for some surgery on the boot configuration. Unplug the SSD’s enclosure from your PC and then plug it back in so that the freshly written boot partition (labelled system-boot) auto-mounts (if your PC is running Linux, the writable partition will likely auto-mount too, but system-boot should auto-mount on everything including Windows and Mac OS X).
On the system-boot partition that’s mounted, find the config.txt file and open it in a text editor (I think Notepad can handle UNIX line-endings these days; Windows users please let me know if this isn’t the case!). It should look like this:
config.txt
 1 # Please DO NOT modify this file; if you need to modify the boot config, the
 2 # "usercfg.txt" file is the place to include user changes. Please refer to
 3 # the README file for a description of the various configuration files on
 4 # the boot partition.
 5
 6 # The unusual ordering below is deliberate; older firmwares (in particular the
 7 # version initially shipped with bionic) don't understand the conditional
 8 # [sections] below and simply ignore them. The Pi4 doesn't boot at all with
 9 # firmwares this old so it's safe to place at the top. Of the Pi2 and Pi3, the
10 # Pi3 uboot happens to work happily on the Pi2, so it needs to go at the bottom
11 # to support old firmwares.
12
13 [pi4]
14 kernel=uboot_rpi_4.bin
15 max_framebuffers=2
16
17 [pi2]
18 kernel=uboot_rpi_2.bin
19
20 [pi3]
21 kernel=uboot_rpi_3.bin
22
23 [all]
24 arm_64bit=1
25 device_tree_address=0x03000000
26
27 # The following settings are "defaults" expected to be overridden by the
28 # included configuration. The only reason they are included is, again, to
29 # support old firmwares which don't understand the "include" command.
30
31 enable_uart=1
32 cmdline=cmdline.txt
33
34 include syscfg.txt
35 include usercfg.txt
First off, ignore that warning at the top (I wrote it, so take it from me that you can ignore it!). I’ve covered why it’s there and why it was wrong before, so go read that if you’re interested, but for now all that’s important is that you can happily modify this file without breaking stuff (if you’re reasonably careful). In fact, feel free to delete that comment :-)
Now, comment out all the kernel= lines pointing to U-boot, and the
device_tree_address= line. Then under the [all] section add
kernel=vmlinuz, and initramfs initrd.img followkernel. Your file should
wind up looking something like this:
config.txt
 1# The unusual ordering below is deliberate; older firmwares (in particular the
 2# version initially shipped with bionic) don't understand the conditional
 3# [sections] below and simply ignore them. The Pi4 doesn't boot at all with
 4# firmwares this old so it's safe to place at the top. Of the Pi2 and Pi3, the
 5# Pi3 uboot happens to work happily on the Pi2, so it needs to go at the bottom
 6# to support old firmwares.
 7
 8[pi4]
 9#kernel=uboot_rpi_4.bin
10max_framebuffers=2
11
12[pi2]
13#kernel=uboot_rpi_2.bin
14
15[pi3]
16#kernel=uboot_rpi_3.bin
17
18[all]
19arm_64bit=1
20#device_tree_address=0x03000000
21kernel=vmlinuz
22initramfs initrd.img followkernel
23
24# The following settings are "defaults" expected to be overridden by the
25# included configuration. The only reason they are included is, again, to
26# support old firmwares which don't understand the "include" command.
27
28enable_uart=1
29cmdline=cmdline.txt
30
31include syscfg.txt
32include usercfg.txt
Obviously if you want to undo the changes you can simply comment out the lines you’ve added and uncomment the ones you commented out (one of the joys of textual configuration being that leaving obsolete stuff commented out for reversion is trivial!).
Save your changes, and safely remove your USB enclosure however that’s done in your particular OS (don’t just unplug it, you need to make sure everything’s unmounted cleanly).
And you’re done! Connect the enclosure to a free USB3 port on your Pi 4 and you should be good to go.