See Also: The intro post which links to all the other flavour posts. Skip down here for the configurations used.
In this post, we’ll be looking at creating an Ubuntu Budgie desktop (with Pi-specific customizations!) with a cloud-init configuration.
Ubuntu Budgie
The Budgie desktop is (was?) based on GNOME but with a more “traditional” desktop feel. The Ubuntu Budgie remix is styled with a brief nod towards MacOS X with a Dock-like launcher (Plank) centred at the bottom of the screen. However, that’s as far as the Mac-allusions go. There’s no application menu in the bar at the top, and the window icons are at the top-right instead of top-left.
Despite the GNOME heritage, there’s no Wayland support yet (although a bit of googling does suggest that it’s a high priority for the next release). On first login, I did need to select “Budgie Desktop” in the login manager (GDM) instead of the “Ubuntu Desktop” default, which was a little odd, but it turned out there was a reason for that which we’ll come back to later …
The specific package used to install the Ubuntu Budgie remix (ubuntu-budgie-desktop-raspi) also includes a nice little Pi-specific customization tool that launches on first login. However, I think some of its options may be redundant at this point (for instance, when using the “full” KMS overlay there’s no need to specify a GPU memory size, even if you are using a camera via the newer libcamera stack).
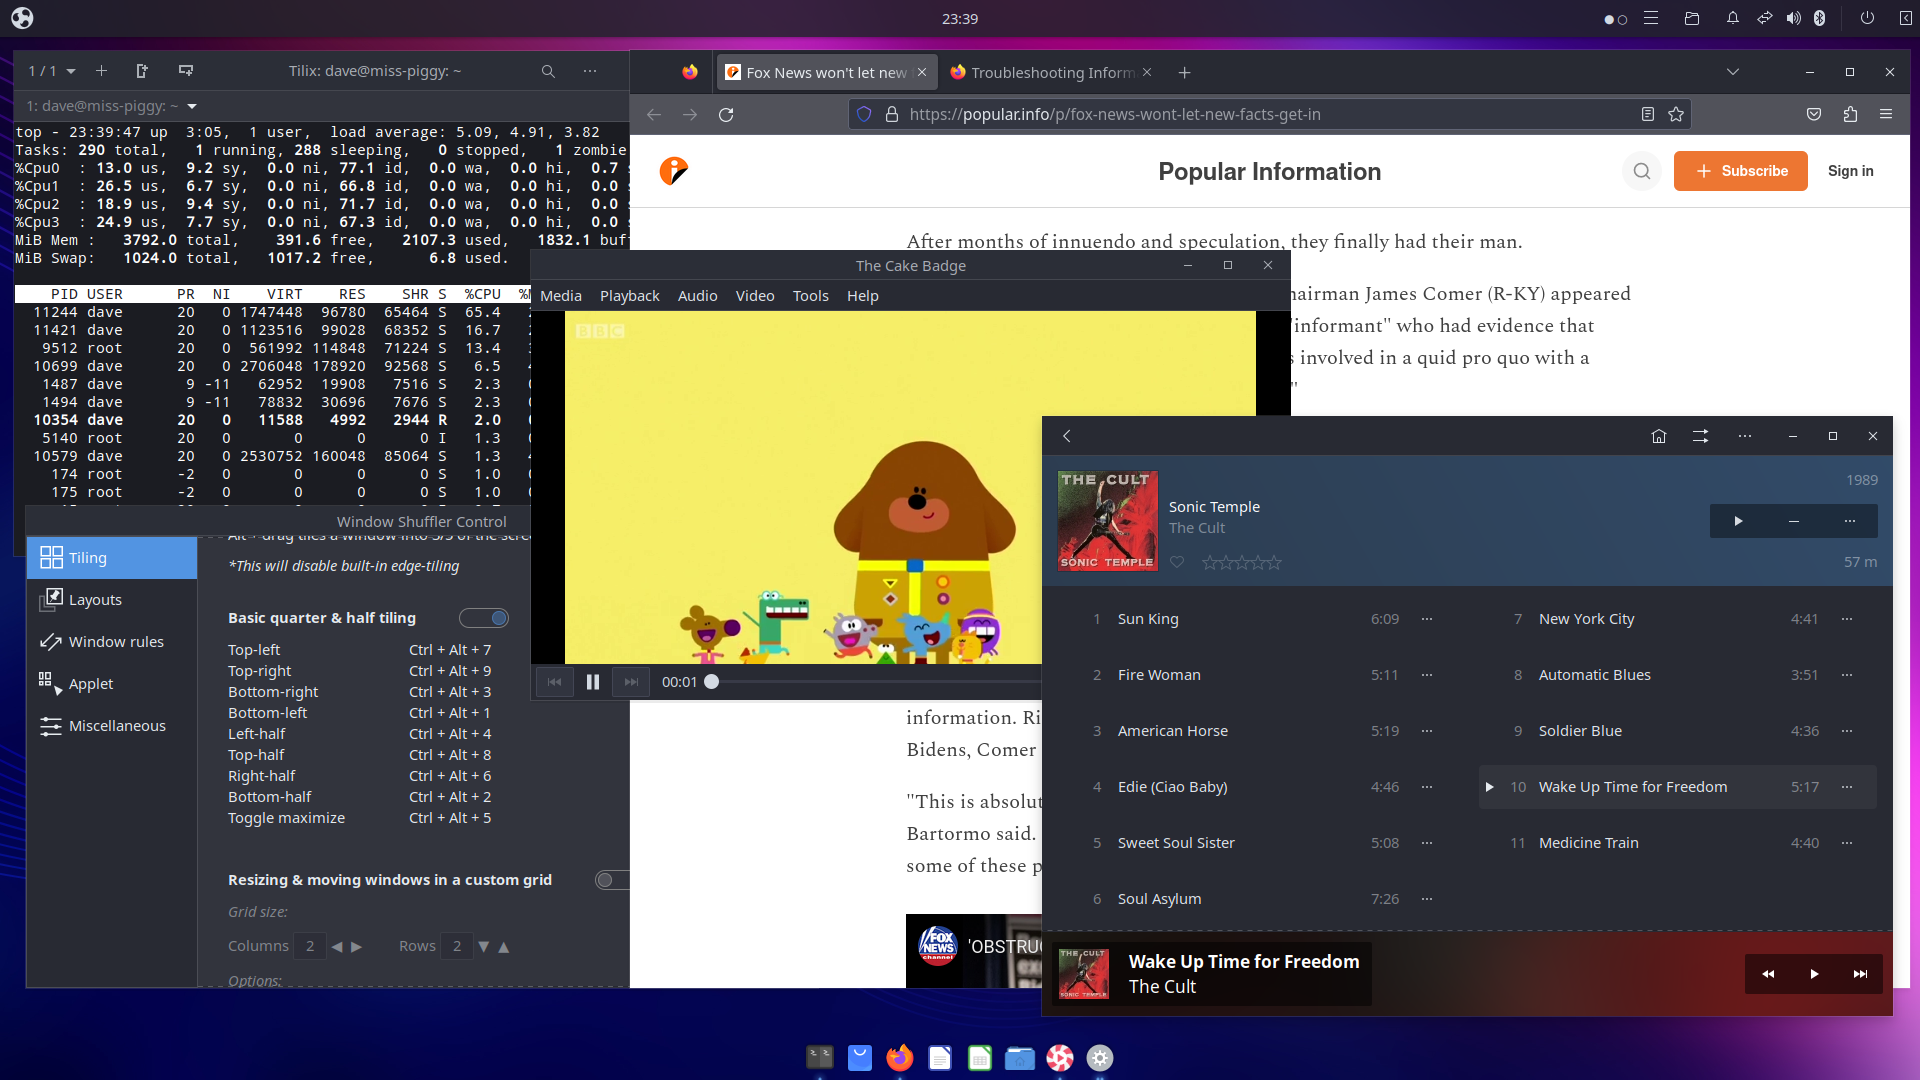
Most of the terminals in the various flavours are much of a muchness; all support multiple tabs, all have scroll-back, and all are essentially decent at their job. However, Budgie’s pick for a terminal (Tilix) stands out as being the only GTK-based terminal to support tiled panes, that I’m aware of [1]. Last time I tried it (in 2020) the terminal (which may or may not have been Tilix, I can’t recall) crashed pretty reliably, but this time around it was solid as any of the rest, and a stand-out feature of the environment.
Budgie seems to have a bit of a thing about tiling generally. The desktop’s got corner tiling by default (useful on a big monitor), but also has some fascinating shortcuts for ⅖-⅗ tiling, custom (shortcut activated) layouts, and arrangement of windows in arbitrarily sized grids. On my little monitor, I don’t really need anything more than side-by-side tiling but I can imagine this being very handy on large-scale high-DPI monitors.
Sadly, the reliability of the console wasn’t reflected elsewhere. Things felt a bit sluggish at times and eventually I figured out cups-browsed was sitting around eating 100% of one of the CPU cores. This might be a known issue (LP: #2018504), but that’s marked “fix released” on Lunar and this was running on a fully up-to-date system. I’ll need to try and reproduce it to see if that bug needs more attention.
Video playback also proved tricky to test; Budgie bundles the same default video player as Xubuntu, Parole, but this crashed the Budgie window manager process on the couple of occasions I tried it (it happily kept on playing the video, but the desktop behind flickered out of existence and then restarted!). The bundled Music player is Lollypop and, while it seems a capable player, it didn’t seem to have any support for any of the music sharing protocols supported on the home server, so I wound up mounting an NFS share for the purposes of testing. This worked, but it struggled a bit with the sheer quantity of albums, eating a good half a gig of RAM by the time it was done indexing. The audio output default also needed adjusting (as on the other desktops).
And the screen-saver? Didn’t appear to do anything at all at first (screen never blanked, no suspend, no lock). This turned out to be an issue with gnome-shell-common being installed. With that package purged (and … ubuntu-budgie-desktop along with it!), the screen-saver managed to lock the desktop correctly, but still failed to suspend the monitor (same as the official GNOME desktop). Interestingly, this also uninstalled the GDM3 login greeter, and replaced it with the slick greeter (familiar to users of Unity), which resolved having to select “Budgie Desktop” at login.
Still, this begs the question why gnome-shell-common is a transitive dependency of ubuntu-budgie-desktop (purging it does remove the meta-package)? Is there a reason for this, or is it a bug?
Verdict
It’s attractive (nice start menu!), reasonably responsive for a modern desktop, and has some novel applications (nice to see some Pi specific customizations). However, it needs a bit of tweaking out of the box for better reliability. I don’t like removing seeds that supposedly define the system!
The tiling capabilities look very interesting for those on large monitors, though.
Configuration
For Ubuntu Budgie, the configurations I used were as follows. For the boot configuration, highlighted lines are those changed from the lunar defaults:
config.txt
 1[all]
 2kernel=vmlinuz
 3cmdline=cmdline.txt
 4initramfs initrd.img followkernel
 5
 6[pi4]
 7max_framebuffers=2
 8arm_boost=1
 9
10[all]
11# Enable the audio output, I2C and SPI interfaces on the GPIO header. As these
12# parameters related to the base device-tree they must appear *before* any
13# other dtoverlay= specification
14dtparam=audio=on
15dtparam=i2c_arm=on
16dtparam=spi=on
17
18# Comment out the following line if the edges of the desktop appear outside
19# the edges of your display
20disable_overscan=1
21
22# If you have issues with audio, you may try uncommenting the following line
23# which forces the HDMI output into HDMI mode instead of DVI (which doesn't
24# support audio output)
25#hdmi_drive=2
26
27# Enable the serial pins
28#enable_uart=1
29
30# Autoload overlays for any recognized cameras or displays that are attached
31# to the CSI/DSI ports. Please note this is for libcamera support, *not* for
32# the legacy camera stack
33camera_auto_detect=1
34display_auto_detect=1
35
36# Config settings specific to arm64
37arm_64bit=1
38dtoverlay=dwc2
39
40[cm4]
41# Enable the USB2 outputs on the IO board (assuming your CM4 is plugged into
42# such a board)
43dtoverlay=dwc2,dr_mode=host
44
45[all]
46dtoverlay=vc4-kms-v3d
For the kernel command line, the entire file must consist of a single line of text so I would suggest simply copying this wholesale:
cmdline.txt
1zswap.enabled=1 zswap.zpool=z3fold zswap.compressor=zstd dwc_otg.lpm_enable=0 console=tty1 root=LABEL=writable rootfstype=ext4 rootwait fixrtc quiet splash
For the cloud-init configuration, the highlighted lines are those that you may wish to change after copying the content:
user-data
 1#cloud-config
 2
 3hostname: budgie-pi
 4
 5locale: en_GB.UTF-8
 6timezone: Europe/London
 7
 8keyboard:
 9  model: pc105
10  layout: gb
11
12user:
13  name: "dave"
14  lock_passwd: false
15  gecos: "Dave Jones"
16  plain_text_passwd: raspberry
17  sudo: "ALL=(ALL:ALL) ALL"
18
19ssh_import_id:
20  - lp:waveform
21
22apt:
23  sources:
24    mozillateam:
25      source: 'ppa:mozillateam/ppa'
26
27write_files:
28  - path: /etc/apt/preferences.d/firefox
29    content: |
30      Package: firefox*
31      Pin: release o=LP-PPA-mozillateam
32      Pin-Priority: 501
33
34      Package: firefox*
35      Pin: release o=Ubuntu
36      Pin-Priority: -1
37  - path: /home/dave/.profile
38    append: true
39    defer: true
40    content: |
41      export MOZ_ENABLE_WAYLAND=1
42
43package_update: true
44package_upgrade: true
45package_reboot_if_required: true
46
47packages:
48  - ubuntu-budgie-desktop-raspi
49  - ubuntu-raspi-settings-desktop
50  - firefox
Finally, the networking configuration. I used Ethernet for my experiments, and given the number of packages that need installing I’d generally recommend that too. Please see the intro post for important information on adjusting the network configuration to Network Manager post installation:
network-config
1network:
2  version: 2
3  ethernets:
4    eth0:
5      dhcp4: true
6      optional: true
| [1] | I specify GTK-based because that tittering you can hear is from KDE’s Konsole users, who’ve had this feature for yonks. |